Before we begin: Safety is important when soap making. Please use latex, nitrile, or neoprene gloves. These can be found at any hardware store in the paint section. We recommend nitrile examination gloves, as they give better control. Also, use eye protection to guard against splashes. If you come into direct contact with lye or raw soap batter, pour vinegar liberally over the skin until the lye is neutralized, and rinse with cold water.
Step 1
Using the scale, carefully weigh the coconut, palm, olive, sunflower, and castor oil in a medium bowl. (The bowl should be glass, plastic, or stainless steel. The container must not be aluminum.)
Step 2
Slowly heat the oils on the stove or in the microwave until they fully melt together. Add the spirulina powder and blend using a stick mixer or whisk until the powder is well distributed in the oil. Allow it to come to room temperature.
Step 1
Taking care not to touch or spill the sodium hydroxide, carefully weigh out the water and sodium hydroxide in separate containers. Again, do not use aluminum containers.
Step 2
Add the sodium hydroxide to the water, stirring continually until it dissolved. (Please note, DO NOT add the water to the powdered sodium hydroxide. Add the powdered sodium hydroxide to the water.) When the sodium hydroxide is added, heat will be released.
Step 3
Add the Green Tea bags to the lye and allow the mixture to return to room temperature, stirring occasionally with a silicone spatula or stainless steel utensil.
Step 4
Remove the green tea bags and dispose of them carefully, making sure not to get lye on kitchen surfaces or on skin.
Step 1
For hundreds of years, soapmakers have added sugar to their blends to increase the richness of lather in their soaps.
Step 2
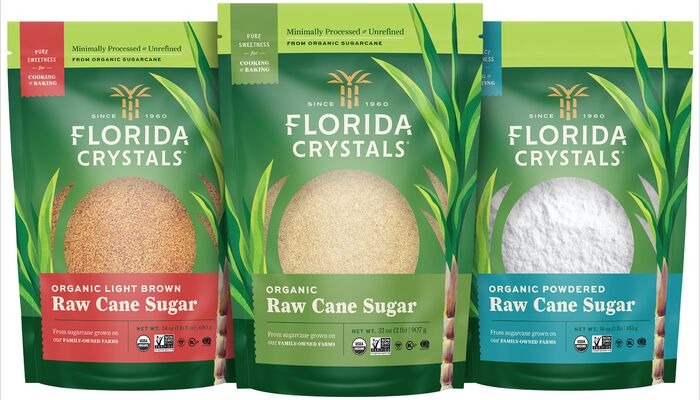
Make a simple syrup using two tablespoons of Florida Crystals® Organic Raw Cane Sugar to one teaspoon of water. Heat until mixture is fully dissolved. Allow to return to room temperature.
Step 1
Prepare your containers. We recommend using recyclable containers from yogurt, cottage cheese, sour cream, or used Solo cups. This will give a variety of sizes for your soaps. Wash and dry your containers, then line them up on one side of your workspace.
Step 2
Carefully add the lye mixture to your oils. Using the stick mixer, blend for 10 seconds. If you are using a whisk, begin to stir. Please note: The lye is much heavier than the oils, so it will stay on the bottom. Be diligent to make sure the mixture is well blended.
Step 3
Add the simple syrup and your essential oil scent to the soap batter and stir using a spatula or whisk.
Step 4
At the first sign of thickening, begin to pour the soap batter into the containers. A good way to tell if it is ready is to raise your spatula and drizzle some of the batter. If you can see a trace left on the surface, it is ready to pour. Do not wait until it is the consistency of pudding - at the first sign of a trace, pour into your containers.
Step 1
Over the next 12 hours, the soap batter will heat up and 'cook' as the chemical process converts the oils and reagent into soap. Simply put the containers in a safe place, cover with a dish towel, and wait. The soap will be ready to remove and cut in 24 hours.
Step 2
The next day or two, simply pop the soap from the cups. You may need to cut the container lip with scissors and peel it away, depending on the containers used.
Step 3
Using a kitchen knife, cut the cones into round slices. If the container was large, you might want to cut the slices laterally into semicircles.
Step 4
Allow the soap to cure for two weeks before use. This will allow the soap harden, which will make it last far longer. Simply store the soap on a bookshelf, in the pantry, or any other place out of sunlight so that it can cure. (Do not put it in a vapor barrier such as a plastic - it needs air.)
Step 5
Enjoy using real soap! For best results, allow the bars to fully dry in between uses.


